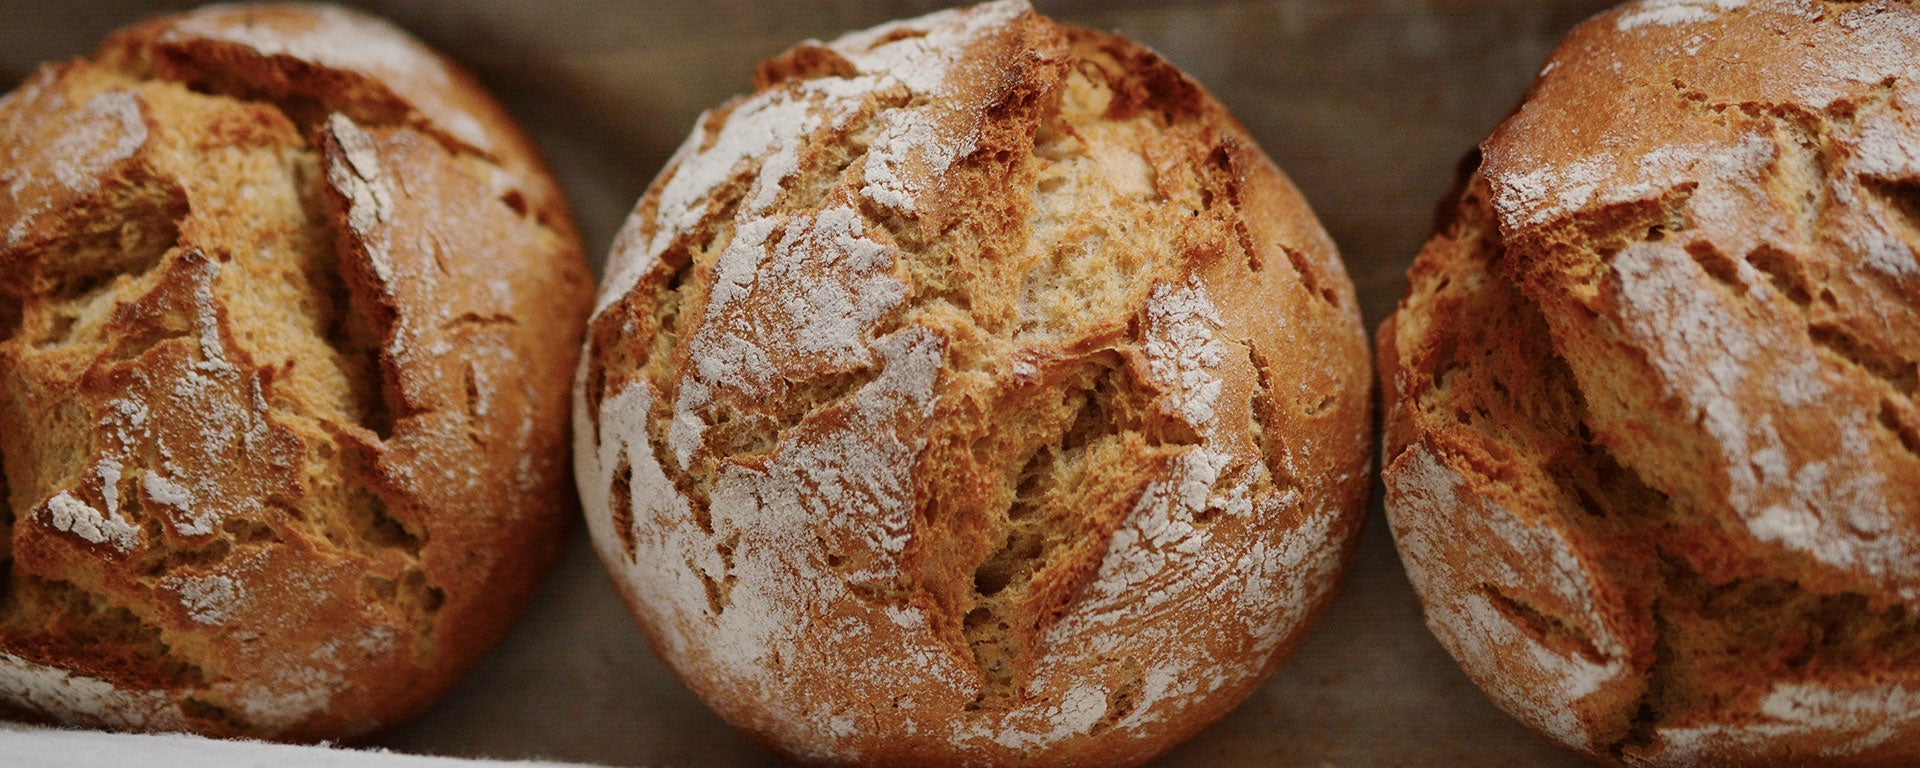
Peter Sidwell’s Top Bread Baking Tips
Bread & Dough
Baking bread at home. It’s really not as hard as you think. In fact it’s really quite easy, if you follow a simple set of top tips from both me and Allinson's flour.
I made my first loaf of bread when I was only 14 years of age at secondary school and it has stayed with me ever since. Baking bread is all about touch, feel and smell so it’s quite easy to see your progress as you make your bread. Throughout my career I have tasted, tapped and torn open many a loaf and I never tire of the simplicity of a beautiful, simple, well baked loaf of bread. However, when you can make a great dough you can then use that as a platform to create all kinds of different flavours and textures to your bread.
I have teamed up with Allinson's flour to help you rise up to the challenge of baking your own bread. To do this we have created a range of recipes that will act as a foundation for your creativity with bread.
First things first though, it’s important to make sure you get the basics right and that’s about following my top tips. These are not long winded or technical, they are short, sharp and concise designed to help you understand the key points that lead you to a successful loaf.
To be a good bread baker at home means you need just a few different recipes to allow you to create a whole range of fantastic different breads based on the basics.
If you have never made bread before, don’t worry. My best advice is don’t be tempted to make your first loaf in a mixer. Try to make it by hand as the whole process is very much about touch and feel. When you are making bread it’s very easy to see and feel your progress. Once you have achieved your first bread by hand you will know how it should look and feel.
Tip 1: Always use bread flour
Buying the right flour is the first task you must get right in order to make great bread. Allinson's flour is a great quality, trusted and a reliable brand that will help you achieve great results. Bread flour is sometimes described as strong flour as there is a higher protein level in the flour. This means more gluten, so when you knead the bread the dough becomes stretchy and that will help hold the air inside when it is left to rise.
Tip 2: Use a yeast sachet
Yeast is the second vital ingredient. The best tip that I can give is to use the handy Allinson's yeast sachets as they are measured out in portions which are perfect for a loaf of bread.
Tip 3: Avoid adding flour when kneading
When kneading the bread it is really important to avoid adding any additional flour if possible, as the more flour you add the tighter the dough will become and you will end up with a dough that cant expand and rise due to the amount of flour.
Tip 4: Knead by stretching and rolling back
When teaching in my cookery school we focus heavily on the knead as most people don’t knead for long enough. Try holding the dough in one hand and stretching the dough with the other hand until you reach the edge of your work top, the more you knead the stretchier the dough will become.
Tip 5: Prove at room temperature until doubled in size
There is an old wives’ tale that says pop your bread in the airing cupboard. If you speed up the proving time by placing it in a warm place like an airing cupboard you will have a bread with very little taste. The longer you can give your bread to prove the better, so leaving it at normal room temperature to prove and double in size is a much better option. It’s more important that the dough doubles in size than a set length of time as everybody’s kitchens are a different temperate.
When your dough has doubled in size it is really important that you knock out all the air so that you have a flat dough. This means that you will get an even rise on your bread when it is being baked.
Tip 6: Add steam for a crisp golden crust
When your bread is finally ready to bake, please make sure you pre heat your oven. You need a surge of heat when baking bread to give it a lift so it rises up. I also like to add a little steam to the bread when first baking and I do this by having a water sprayer in the kitchen, I add a little mist to the top of the bread and into the oven as I put the bread in to bake. The moisture on the loaf help crisp up the outside of the bread and it results in having a golden crusty loaf.
Tip 7: Release the steam
If you do add water to the oven and you want your loaf to stay crispy, make sure you open the oven door for a few minutes when the bread is cooked to let the steam back out of the oven. If you don’t, your loaf will be golden and crunchy when it first comes out of the oven but 1 hour later it will be soft.
Tip 8: Tap the bottom to check the bread is baked
Lastly, to check that your loaf is baked throughout tap the bottom of your loaf. If the loaf sound hollow then your bread is ready.
